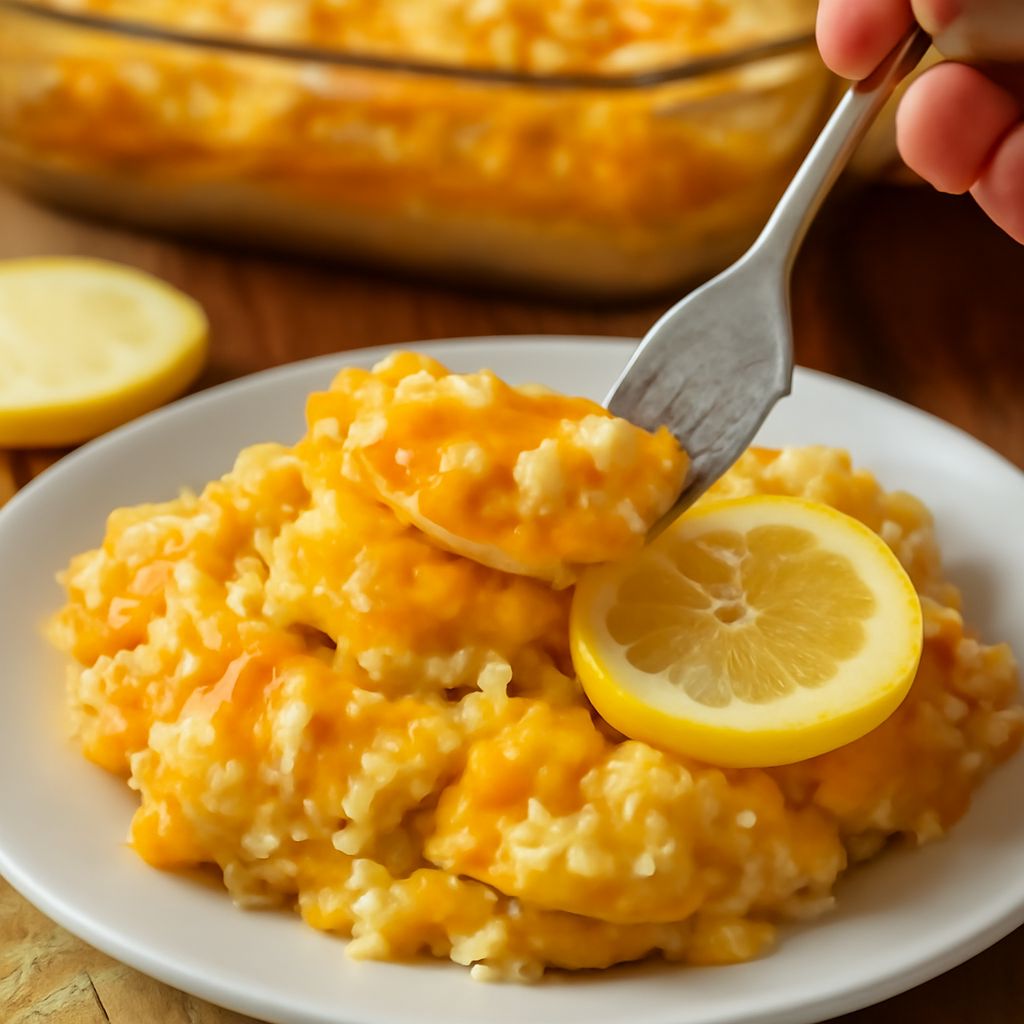
Tender yellow rounds with lightly browned edges are a lovely reward for turning on the oven. Yellow squash baked in the oven becomes soft and juicy at the center. Recipes for curved crookneck squash work just as well with straightneck, so either variety can follow this simple method.
The recipe below serves four as a side. It uses a little oil and a scattering of seasoning, leaving the squash’s delicate flavor in charge. You’ll learn when to turn the pieces, what to look for before taking them out, and how to adjust the pan if they need more color.
Choose and prepare the squash
Look for squash that feels firm and heavy for its size, with skin free of soft spots. Small to medium specimens generally have tender skin and seeds. Some crooked neck squash recipes use smooth or bumpy fruit; both are normal. If the skin is tough enough to resist your knife, peel it, and if the seeds are large and hard, scoop them out before slicing.
For bumpy yellow crookneck squash recipes, wash the skin under running water and rub gently around the bumps. Recipes using crookneck squash benefit from this quick cleaning. Trim the stem and blossom ends. There’s no need to peel tender skin: it holds the slices together and adds color.
Cut the squash into rounds about 1/2 inch thick. If the curved neck makes a few pieces much smaller than the others, slice the bulbous end into half-moons so the pieces have a similar surface area. Even thickness matters more than a perfect shape; thin pieces can soften before thick ones are done.
The recipe: simple oven-browned rounds
Gather these ingredients for one large sheet pan:
- 1 1/2 pounds yellow summer squash, including crookneck if you like
- 1 1/2 tablespoons olive oil
- 1/2 teaspoon kosher salt
- 1/4 teaspoon black pepper
- 1/2 teaspoon garlic powder
- 2 tablespoons finely grated Parmesan, optional
- 1 teaspoon lemon juice, optional
Heat the oven to 425°F and place a rack in the middle. Set a large rimmed metal baking sheet in the oven as it heats. A hot surface starts browning the underside as soon as the slices touch it. Use oven mitts when handling the pan, and set it on a heat-safe surface before adding the vegetables.
- Pat the washed, sliced squash dry with a towel. Toss it in a bowl with the oil, salt, pepper, and garlic powder until lightly coated.
- Carefully spread the pieces in one layer on the hot sheet, with a little space between them. If the pan is crowded, use two sheets and rotate them between racks halfway through.
- Bake for 12 minutes. Turn the pieces with a thin spatula, then return the pan to the oven for another 6 to 10 minutes.
- Check a thick piece with the tip of a knife. It should slide in easily, with a little resistance at the center. Look underneath for golden patches and around the edges for light browning.
- If using Parmesan, sprinkle it over the pieces for the last 3 minutes. Transfer to a serving dish and add the lemon juice just before serving.
This crookneck squash recipe is flexible about shape: use straightneck squash or a mixture, keeping all the pieces close to the same thickness. Total time varies with the pan and the size of the slices, so begin checking at 18 minutes. The cheese should melt and take on a little color; if it darkens too quickly, remove the pan.
Crookneck Squash Recipes: Getting the Texture Right
A common question is how to cook yellow squash in the oven without turning it soft all the way through. Start with dry pieces, a hot oven, and a single layer. Squash contains plenty of moisture, which must escape before its surface can brown. Space on the pan lets steam move away from the slices instead of collecting around them.
For a firmer bite, test at the early end of the time range. To roast yellow squash until softer, give it a few extra minutes and test again. Thin neck pieces may finish first; lift those onto the serving plate while larger pieces continue to cook. The finished slices should hold their shape when lifted, even though their centers yield to a fork.
For squash recipes, baked slices benefit from a metal sheet that is large enough to expose their surfaces. Other oven-baked squash recipes use glass or ceramic dishes for a softer preparation, but their higher sides tend to hold in steam. If that is the pan you have, arrange the pieces loosely and expect less browning.
If you’ve learned how to bake yellow squash in rounds, try thick lengthwise planks next. Cut them about 1/2 inch thick and use the same temperature, turning when the underside has browned. Their larger surface can pick up a satisfying golden crust; check the center for tenderness before serving.
Seasonings and serving ideas
The base recipe for baked squash is mild enough to welcome different seasonings. For a Southern-inspired plate, add a small pinch of smoked paprika before the pan goes into the oven. Serve the warm pieces beside black-eyed peas and cornbread, or tuck them next to baked chicken and rice. Serve baked summer squash with a sharp vinegar-based sauce.
A little dried thyme or oregano can join the oil and garlic powder before baking. For a fresh finish, scatter chopped parsley over the platter after it comes out. Add lemon a few drops at a time; a bright finish is welcome, but too much liquid can soften those browned edges.
To make squash recipes easy to adjust, keep the base seasoning restrained and put extras on the table. Grated cheese, pepper flakes, or a spoonful of toasted breadcrumbs each gives the dish a different character. For crunch, toast breadcrumbs separately in a small skillet with a little oil, then scatter them over just before eating.
There are several ways to cook yellow squash when you want a change. Grill thick planks over medium heat, sauté slices quickly in a wide skillet, or simmer chunks in a soup. Each gives a different texture: grilling adds a smoky edge, while simmering makes the pieces softer and lets them absorb broth.
Make the most of a summer harvest
Some yellow summer squash recipes combine the vegetable with tomatoes and onions. Recipes for yellow summer squash can also include zucchini. That combination tastes good, but tomatoes release liquid as they cook. For the browned version here, roast the squash on its own sheet and add juicy vegetables to the serving dish afterward. You can warm sliced onions separately or roast them on another pan.
A light coating of oil helps keep yellow squash recipes healthy and flavorful without hiding the vegetable. Measure it into the bowl and toss thoroughly; a thin film is enough for browning. If you prefer to skip cheese, try herbs and lemon for a lively finish.
Some baked yellow squash recipes include zucchini. For recipes with yellow squash baked alongside zucchini, use the same pan. Use equal-thickness slices and watch both closely: a particularly narrow or tender piece can cook sooner. The green and yellow colors make an inviting platter, and both vegetables respond well to the same garlic and pepper.
Planning ahead and using leftovers
Slice the squash earlier in the day and refrigerate it in a covered container. Pat it dry and add the oil and salt just before it goes on the sheet. Salt draws moisture to the surface, so waiting helps keep the pieces ready for browning.
Refrigerate any remaining cooked summer squash in a covered container within two hours. Eat it within 3 to 4 days. To reheat, spread the pieces on a sheet and warm them in a 375°F oven until hot throughout. The edges may be softer than they were fresh, but a few minutes of uncovered heat helps dry the surface.
Cold leftovers are pleasant in a grain bowl with beans and greens. You can also fold them into an omelet or add them to soup near the end of cooking. Because the squash is already tender, it only needs to warm through. An easy squash recipe like this one makes a useful extra vegetable for tomorrow’s lunch.
If you are deciding how to roast summer squash for a larger gathering, allow one roomy sheet for every 1 1/2 pounds. Give each sheet space in the oven, rotate their positions halfway through, and check both before serving. Oven temperatures vary across racks, so one pan may need a little longer.
A final check at the table
The best guide for oven roasted summer squash is the piece on your fork. It should be tender in the center and still hold together when lifted. If the edges have shriveled and the centers feel dry, the slices have stayed in too long. Serve them with a little olive oil and lemon; next time, cut thicker pieces and check them several minutes earlier.