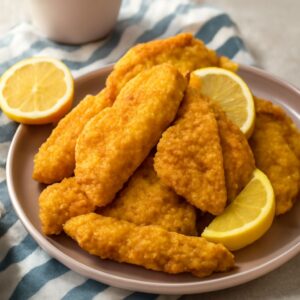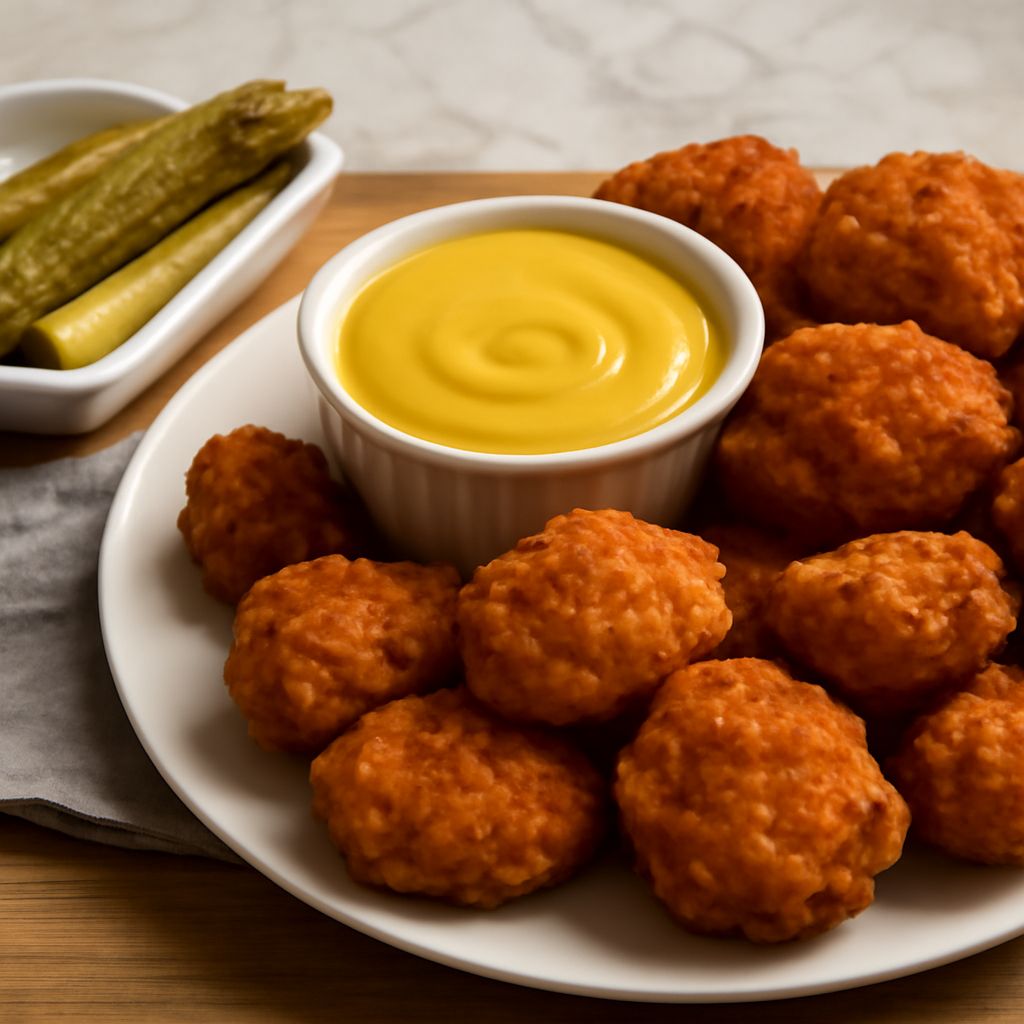
A crisp, craggy crust and juicy, well-seasoned meat are the rewards of frying chicken after a short soak in dill pickle brine. This pickle-brined chicken gets its tang from the jar and its crunch from a seasoned flour coating.
The trick is to give the pickle brine time to season the chicken before frying, while keeping the soak short enough that the meat does not become overly salty or sharp. A thermometer takes the guesswork out of both the oil and the finished chicken.
Pickle Brine Fried Chicken: Ingredients and Timing
This pickle brined fried chicken serves four. Use boneless, skinless thighs for pieces that cook at a similar pace and stay juicy. Allow 15 minutes of hands-on preparation, 1 to 2 hours for brining, and about 20 minutes for coating and frying in batches.
For the chicken and brine
- 2 pounds boneless, skinless chicken thighs, about 6 to 8 pieces
- 2 cups dill pickle brine from a jar, enough to cover the chicken in a snug container
- 1 cup cold water
For the coating and frying
- 1 1/2 cups all-purpose flour
- 1/2 cup cornstarch
- 1 teaspoon garlic powder
- 1 teaspoon paprika
- 1/2 teaspoon freshly ground black pepper
- 1/4 teaspoon cayenne pepper, optional
- 1/2 cup buttermilk
- Neutral frying oil, such as canola or vegetable oil, enough for about 1 inch in the pot
For serving
- Fresh dill pickle slices, optional
- Coleslaw, cornbread, or a creamy dipping sauce
The brine already contains salt, so the coating starts without added salt. You can season a cooked piece at the table if it needs more. The small amount of cornstarch helps make a delicate, crisp crust; the buttermilk gives the dry mixture something to cling to.
Choose the Brine and Prepare the Chicken
For pickle brine fried chicken, use the liquid from a jar of dill pickles you enjoy eating. A familiar, vinegary dill brine gives the meat a savory tang. Sweet pickle liquid can make the crust brown more quickly and gives a different flavor; save it for another preparation until you know how the basic version tastes.
For fried chicken brined with pickle juice, choose plain chicken over meat injected with a salt solution. Salt levels vary between brands of pickles, too, so this recipe dilutes the jar liquid with water. For your first batch of chicken fried after a pickle brine, stay near the one-hour end of the range. You can lengthen the soak on another day if you want more seasoning.
Taste pickle liquid before adding the raw chicken, never afterward. Keep serving pickles away from the raw poultry.
Brine, Coat, and Fry
- Brine. Combine the 2 cups pickle liquid and 1 cup water in a food-safe glass, stainless steel, or plastic container. Add the chicken and turn to coat. The pieces should be submerged; use a smaller container if necessary. Cover and refrigerate for 1 to 2 hours. Do not leave the container on the counter. For this pickle juice fried chicken, the shorter soak gives a gentler result.
- Drain and dry. Remove the thighs from the liquid with clean tongs and place them on a tray. Discard the used brine. Pat the chicken thoroughly with paper towels: a damp surface is fine, but excess liquid can loosen the coating and make hot oil sputter. Do not rinse raw chicken, which can spread droplets around the sink. Wash your hands and clean the work surface and utensils after handling it.
- Mix the coating. In a shallow bowl, whisk together the flour, cornstarch, garlic powder, paprika, black pepper, and cayenne, if using. Pour the buttermilk into a separate shallow bowl. Set a clean rack over a tray for the coated pieces.
- Dredge. Dip each piece in buttermilk, letting the excess drip off, then press it into the flour mixture on all sides. Squeeze a little coating onto the meat to form rough edges. Place the pieces on the rack and let them rest while the oil heats, about 10 minutes. Discard any buttermilk and flour that touched the raw chicken.
- Heat the oil. Pour oil to a depth of about 1 inch into a heavy, deep pot, leaving plenty of space above it for bubbling. Clip on a frying thermometer and heat the oil to 350°F over medium heat. Set a second, clean rack over a tray for the cooked chicken.
- Fry in batches. Carefully lower in a few pieces with tongs, laying them away from you. Leave space between them. Fry for about 6 to 10 minutes total, turning as needed, until the crust is deep golden and the thickest part reaches 165°F. Keep the oil around 325°F to 350°F as the chicken cooks. Adjust the heat gradually and let the oil return to 350°F before adding the next batch.
- Check and rest. Insert an instant-read thermometer into the thickest part of each piece, avoiding the pan. If a piece has not reached 165°F, continue cooking and check again. Transfer finished chicken to the clean rack and let it rest for 5 minutes. According to FoodSafety.gov, 165°F is the safe minimum internal temperature for chicken.
For chicken brined in pickle liquid and fried, thickness and oil temperature affect timing. A golden crust does not establish doneness; use the thermometer.
Manage the Oil and Coating
For pickle fried chicken with a crisp shell, give the coating a brief rest before frying. For chicken fried after a pickle-juice soak, flour absorbs buttermilk and forms an even layer. Press firmly, but shake off any loose flour so it does not fall into the oil and scorch. The little ridges left on the chicken are welcome; they fry into crunchy edges.
For fried chicken soaked in pickle brine, a heavy pot helps hold heat, but the temperature drops when cold meat enters. Crowding makes the drop larger and slows the return to cooking temperature. Cook two or three pieces at a time, depending on the pot, and watch the thermometer rather than judging by the sound alone. Keep the pot handle turned inward, use long tongs, and never leave hot oil unattended.
Pickle juice fried chicken needs enough room for the oil to bubble around each piece. If the crust darkens before the chicken reaches 165°F, reduce the heat and finish cooking at a gentler temperature, checking the center. If the oil gets too cool, wait for it to recover before adding more pieces. Never pour water into hot oil; let the oil cool completely before disposing of it according to local rules.
For fried chicken with a pickle juice marinade, a rack is a better resting place than a covered plate: air can circulate around the crust. Place the rack over a tray to catch drips. Use separate racks or wash the first one thoroughly between raw and cooked chicken.
Balance the Salt and Tang
Pickle brined fried chicken should taste seasoned, with a gentle tang beneath the spices. The dilution and short soak are starting points because jar liquids vary. If this fried chicken with pickle brine tastes too salty or acidic, shorten the next soak to one hour and retain the water. For a stronger pickle flavor in the fried chicken, try the full two hours next time. Avoid adding salt to the flour until you know what your brine contributes.
For pickle brine fried chicken with a milder finish, serve a cooling sauce alongside it. Stir chopped herbs into plain yogurt or mayonnaise, or offer a spoonful of ranch dressing. A little honey in a separate serving sauce can soften a sharp edge, while fresh slaw adds crunch. Taste the finished meat first, then decide what belongs on the plate.
Fried chicken brined in pickle juice also pairs well with mashed potatoes, greens, or a soft biscuit. For a pickle-brined fried chicken sandwich, tuck a thigh into a bun with slaw and fresh pickle slices. Those slices will add both salt and acidity, so start with one or two and add more to taste. If you want a brighter finish, offer lemon wedges at the table instead of adding more acid to the marinade.
Make Ahead and Store Leftovers
You can mix the dry coating ahead and keep it covered at room temperature. Measure the brine and water in advance, but add the chicken only when you are ready to start the timed refrigerated soak. This makes fried chicken marinated in pickle brine manageable for a weeknight without extending its time in the liquid.
Refrigerate leftovers in a shallow container within two hours of cooking, or within one hour if the temperature is above 90°F. Keep them at 40°F or below and use within three to four days, as advised by the USDA. Reheat to 165°F; an oven or air fryer can help restore some crunch. Check the center with a clean thermometer.
The most likely trouble with pickle fried chicken is a dark crust before the center is cooked. Check the thickest part: if it is below 165°F, lower the heat and continue cooking until it reaches that temperature, checking again before serving.