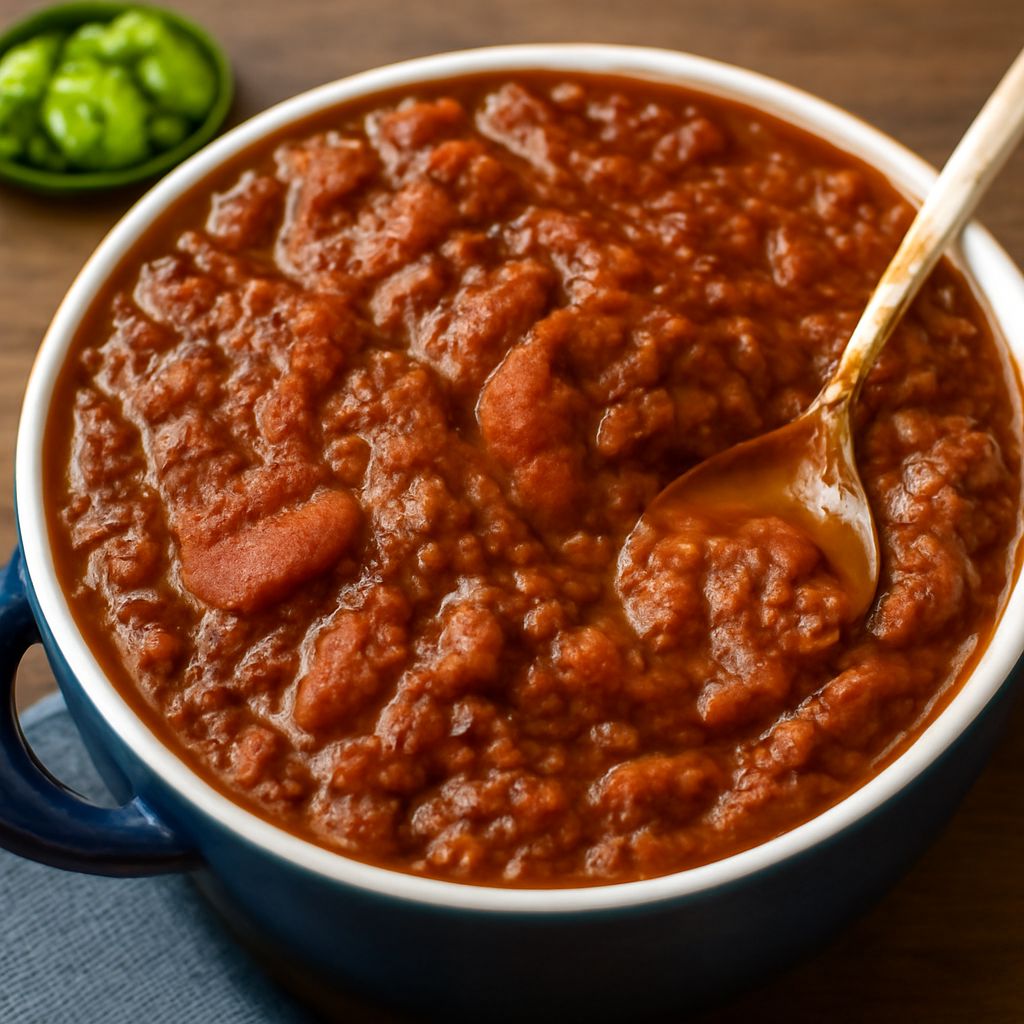
Unlock the rich flavors and hearty textures that dried beans bring to the table with our guide on how to make chili with dried beans. Transform simple pantry staples into a soulful dish that warms the heart and satisfies the palate. This journey will not only enhance your culinary skills but also provide healthful, cost-effective meals that everyone will love.
Using dried beans in your chili recipe adds depth and complexity that canned beans simply can’t match. Whether you’re a novice cook or a seasoned chef, this guide will support you in creating a delicious chili dish that stands out. Let’s dive into the world of dried beans and discover how they can elevate your chili-making experience.
Why Use Dried Beans in Chili
Choosing to make chili with dried beans offers several advantages. Firstly, dried beans are significantly more economical than their canned counterparts. This cost-effectiveness doesn’t mean compromising on quality; in fact, the flavor of dried beans is often superior. They provide a fresher, more robust taste that enhances the overall flavor profile of your chili.
Moreover, dried beans allow for better texture control. When you cook them from scratch, you have the option to adjust their firmness. This customization is key to achieving the perfect consistency in your dish. Additionally, they are free from preservatives and excess sodium, making them a healthier choice for your favorite chili recipe.
Preparing Dried Beans
The first step in how to make chili with dried beans is proper preparation. Begin by sorting through the beans to remove any debris or damaged beans. Rinse them thoroughly under cold water. Soaking is essential for reducing cooking time and improving digestibility. You can choose between an overnight soak or a quick soak method.
For the overnight method, cover the beans with water in a large bowl and let them sit for at least 8 hours. If you’re short on time, the quick soak technique involves boiling the beans for a few minutes and then letting them rest for an hour. Regardless of the method, draining and rinsing the beans after soaking is crucial to remove any residual starch or impurities.
How to Make Chili with Dried Beans
Ingredients
- 1 pound of dried beans (pinto, kidney, or black)
- 2 tablespoons olive oil
- 1 large onion, chopped
- 3 cloves garlic, minced
- 1 pound ground beef or turkey
- 2 cans diced tomatoes
- 2 tablespoons chili powder
- 1 teaspoon cumin
- Salt and pepper to taste
- 4 cups vegetable or beef broth
Cooking Steps
To begin, heat olive oil in a large pot over medium heat. Add the chopped onion and garlic, sautéing until they are soft and fragrant. Next, introduce the ground meat, cooking until it is browned throughout. This step lays the flavor foundation for your chili.
Drain any excess fat before adding the soaked dried beans, diced tomatoes, and spices. Stir to combine the ingredients evenly. Pour in the broth, ensuring the beans are well covered. Bring the mixture to a boil, then reduce the heat to a simmer. Cover the pot and let it cook for 1 to 2 hours, or until the beans reach your desired tenderness.
Tips for Perfect Chili
Creating the perfect chili with dried beans involves patience and attention to detail. Be vigilant about stirring occasionally to prevent the beans from sticking to the bottom of the pot. Adjust seasoning as needed, tasting throughout the cooking process.
Consider adding vegetables such as bell peppers or corn for additional texture and nutrition. If you prefer a spicier kick, incorporate jalapeños or cayenne pepper. Allowing the chili to rest after cooking can meld the flavors further, creating a richer taste profile.
Safety recap: Always ensure dried beans are cooked thoroughly to avoid any potential digestive issues. When using tools for chopping or grinding spices, handle them carefully to maintain safety in the kitchen.